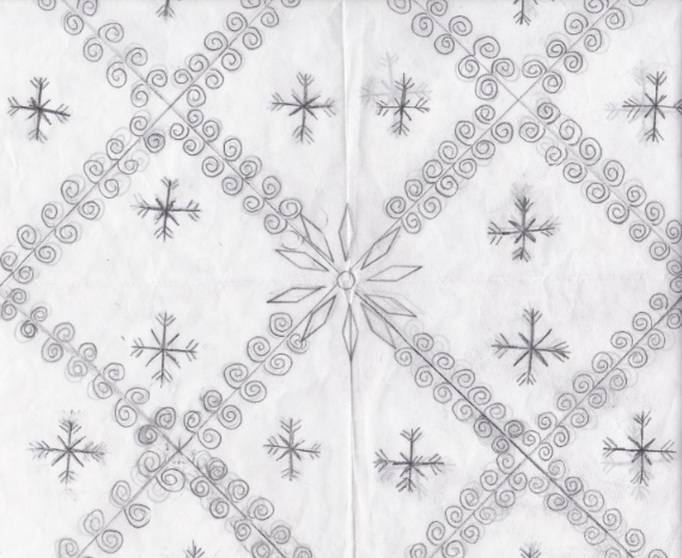
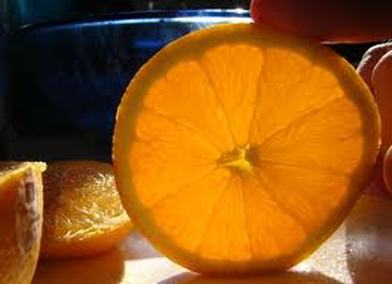
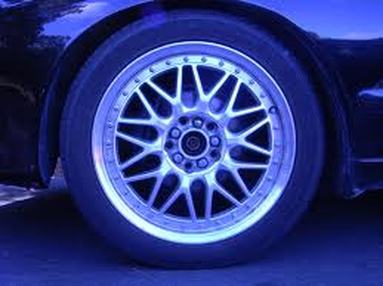
radial balance is all around you! check out these 2 examples!
|
|
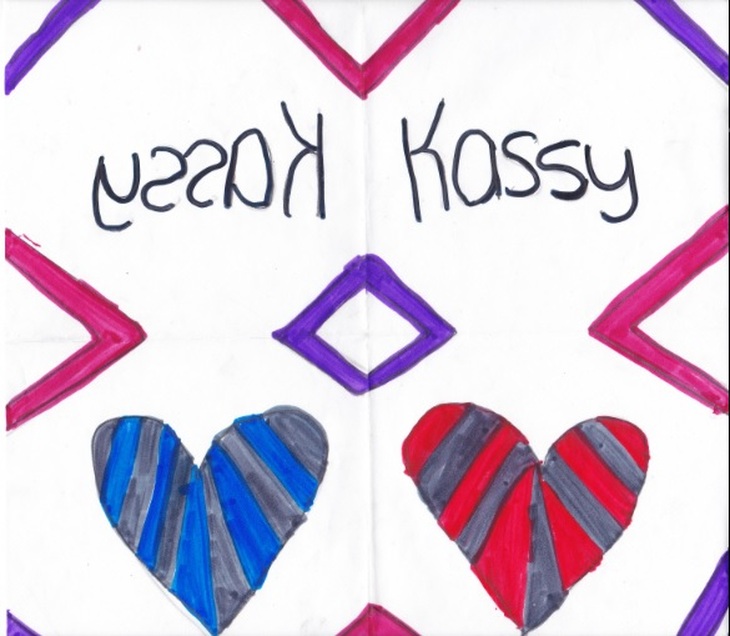
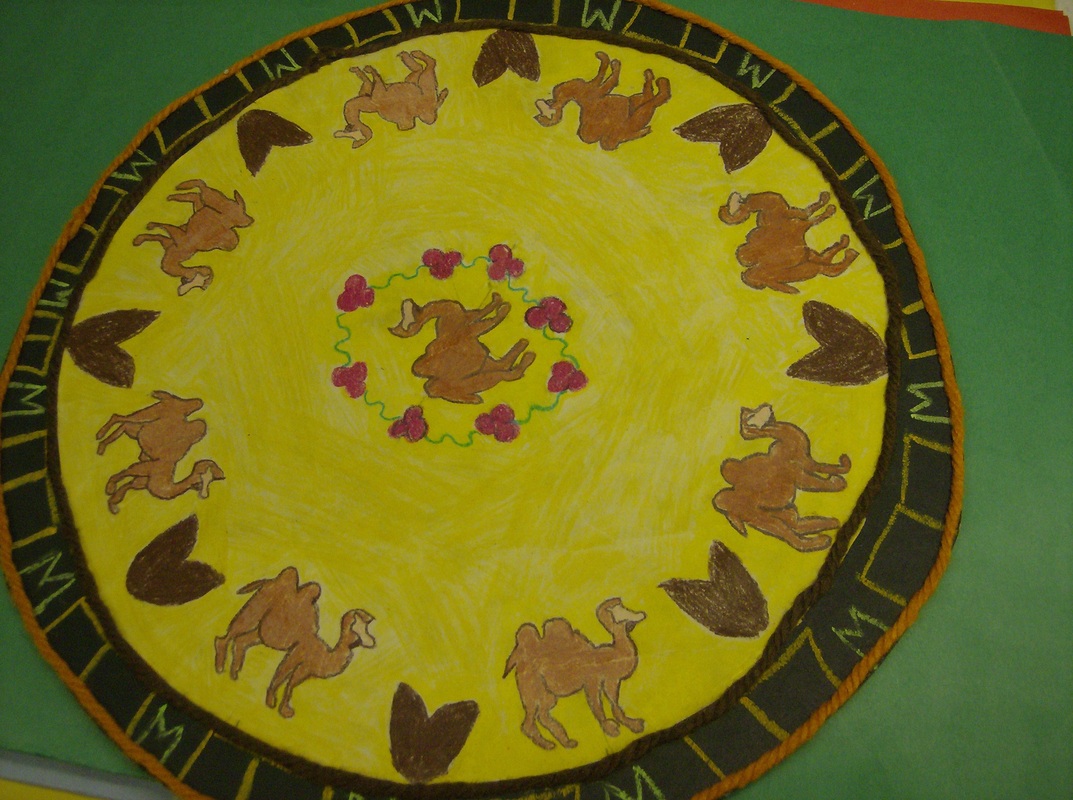
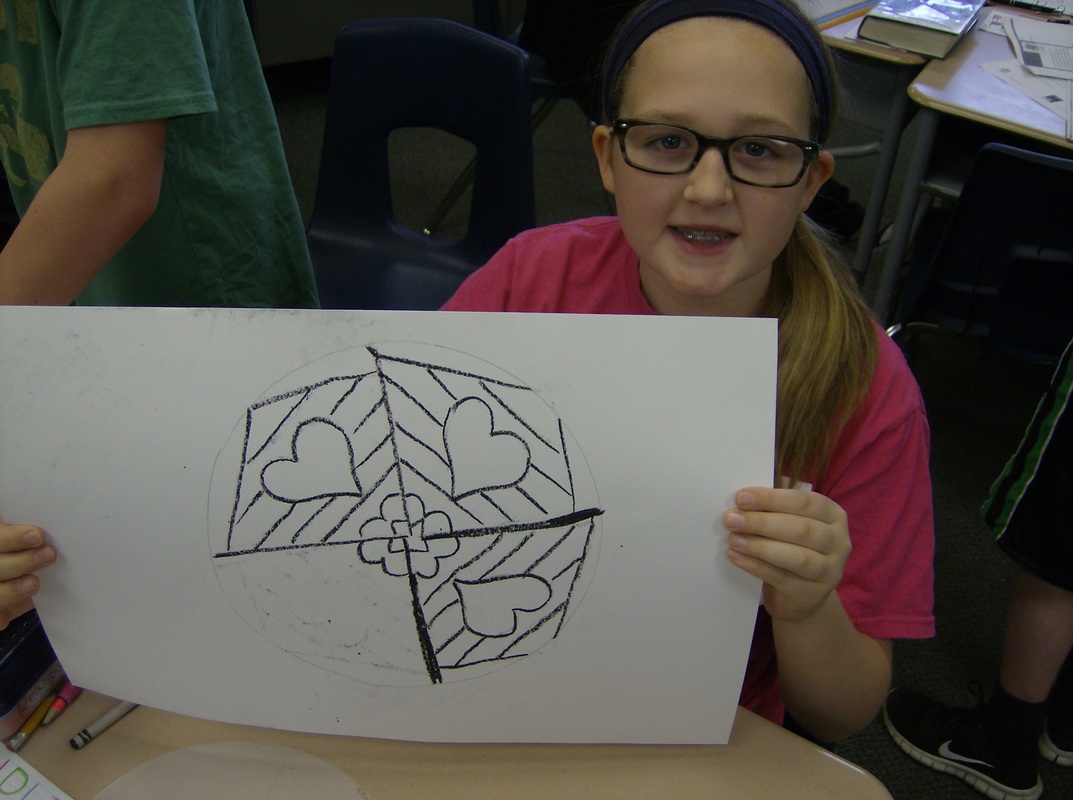
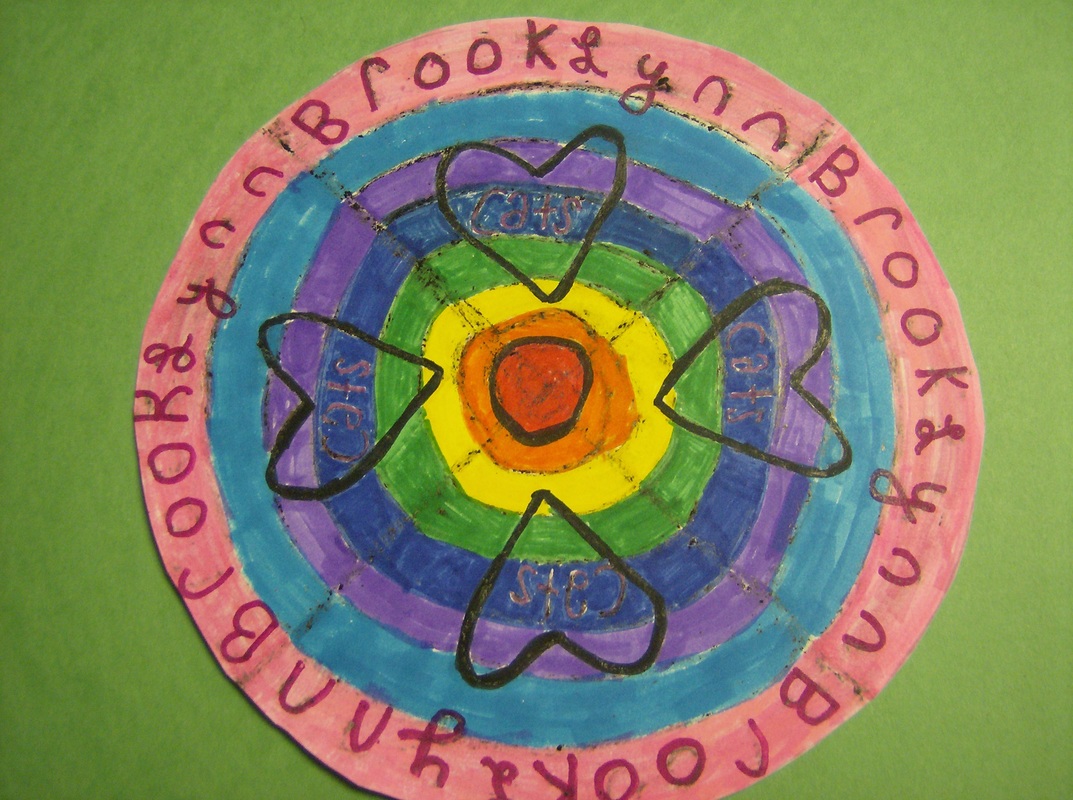
Here is a student generated "radial balanced" sample
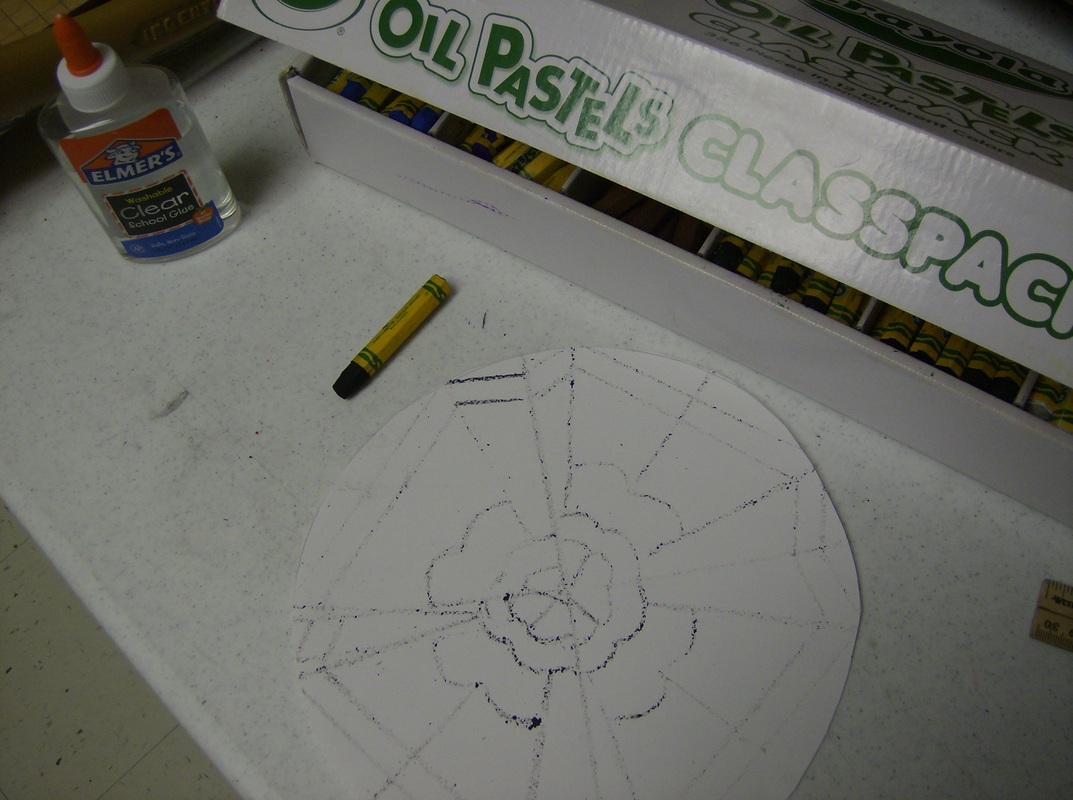
ok, let's get started....here is the 1st step
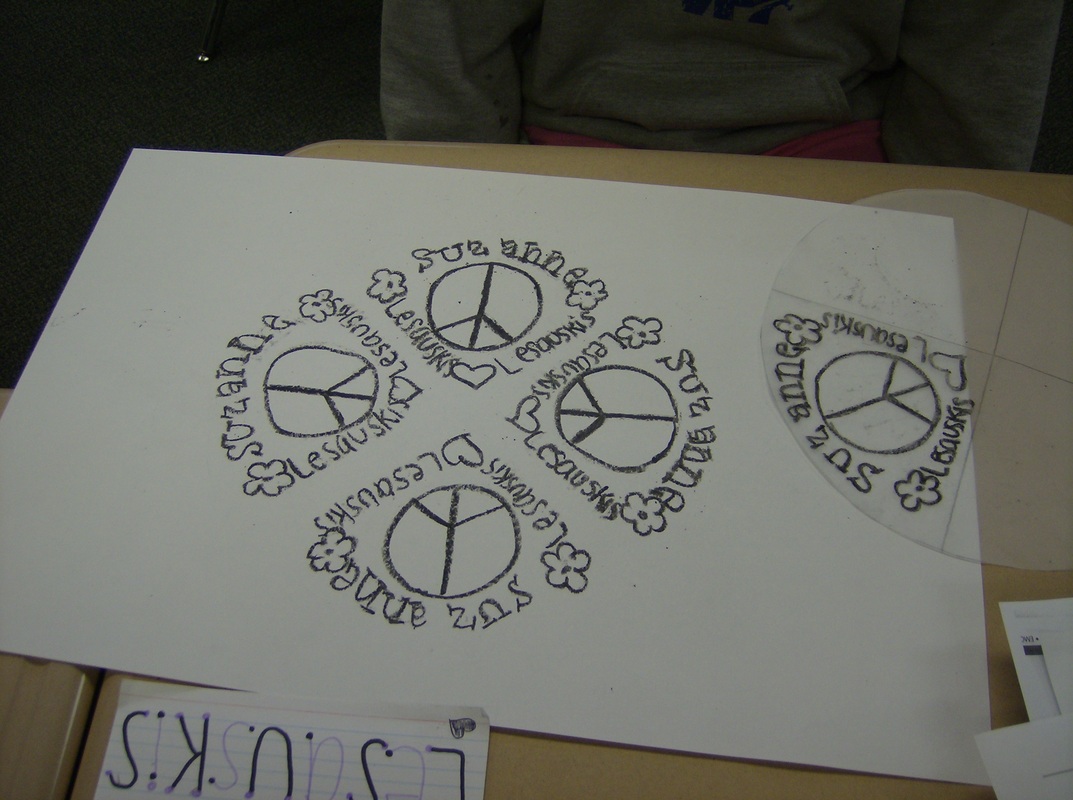
after you make your transfer, some of the lines might be a little light...as you see here. No problem! just go over them with your pencil, until all of the lines going around form a nice pattern!
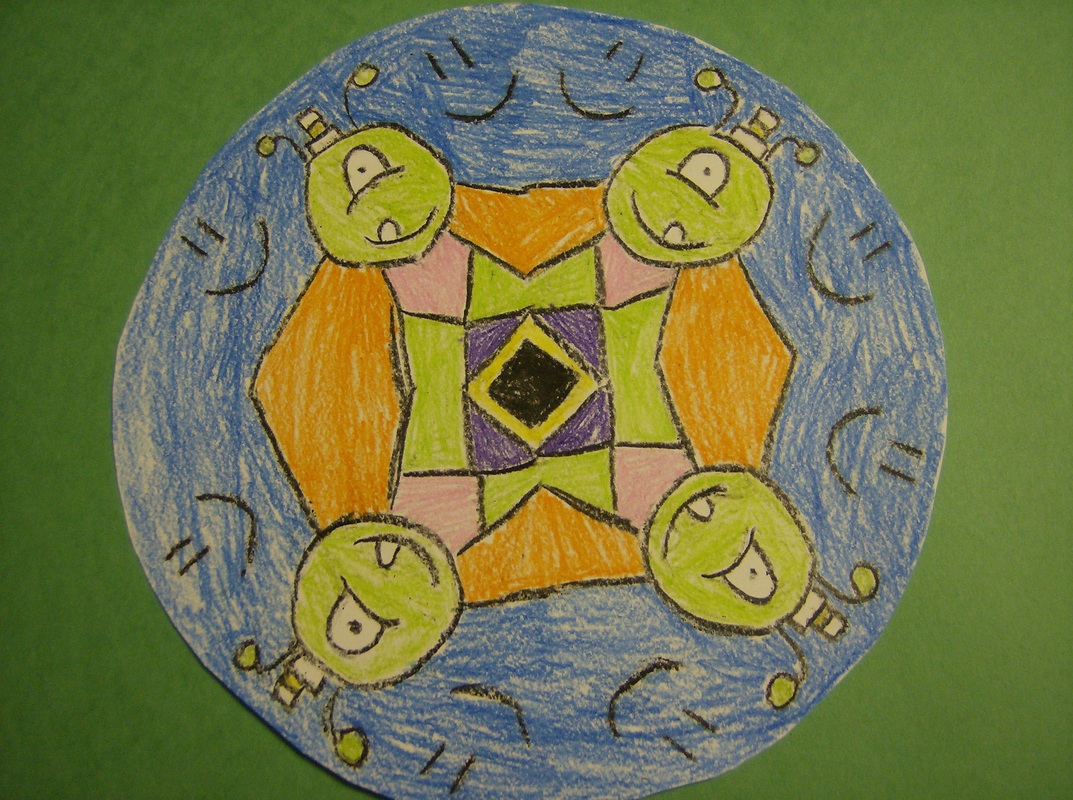
and here...is an example of student work....nicely done...showing radial balance
ere are some examples of students working on their project
first, students work on developing a design in pencil on the transfer sheet. the transfer sheet is see through wax paper
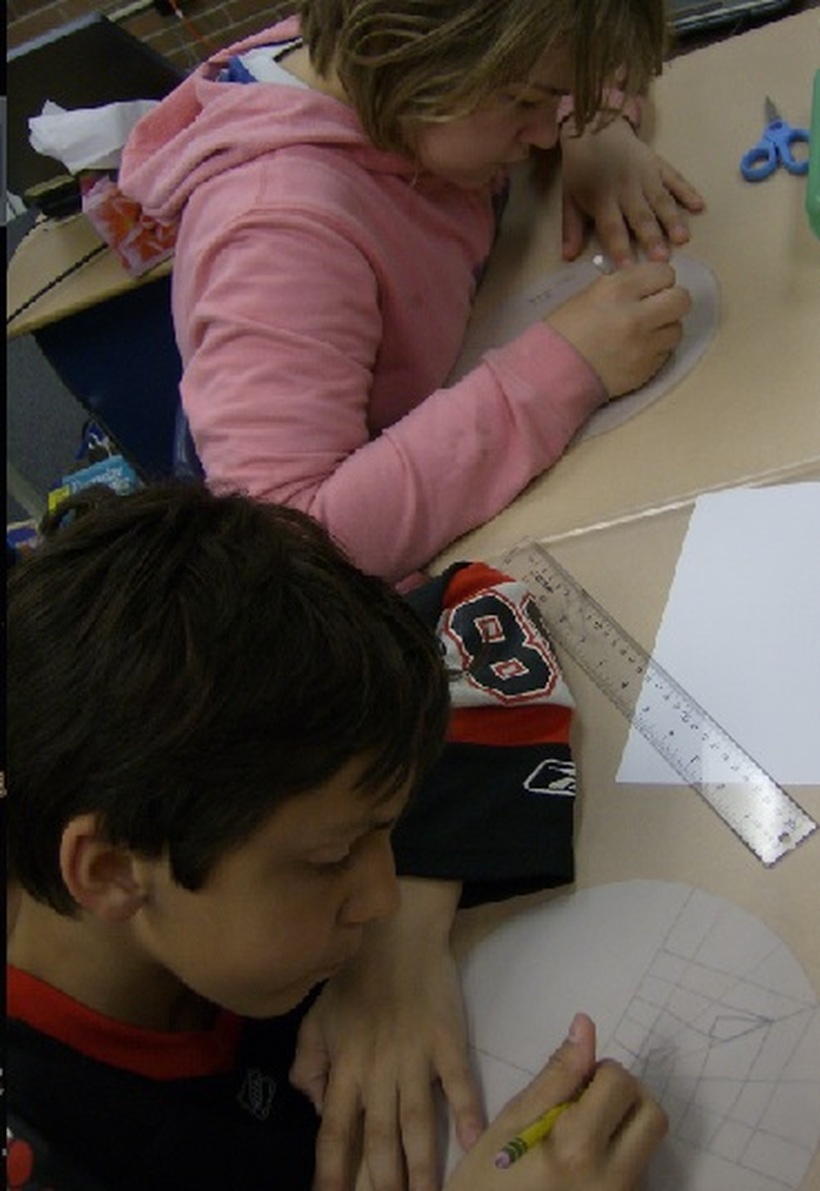
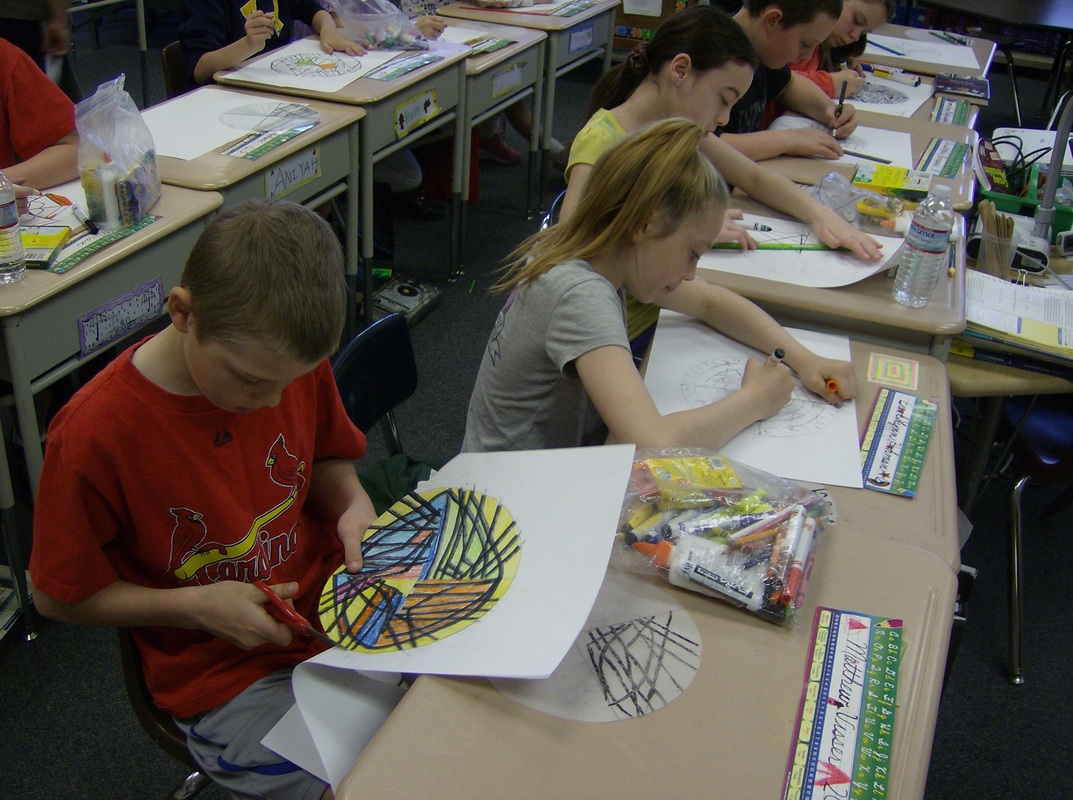
these students have made the transfer, and are at either coloring in or cutting out their finished product
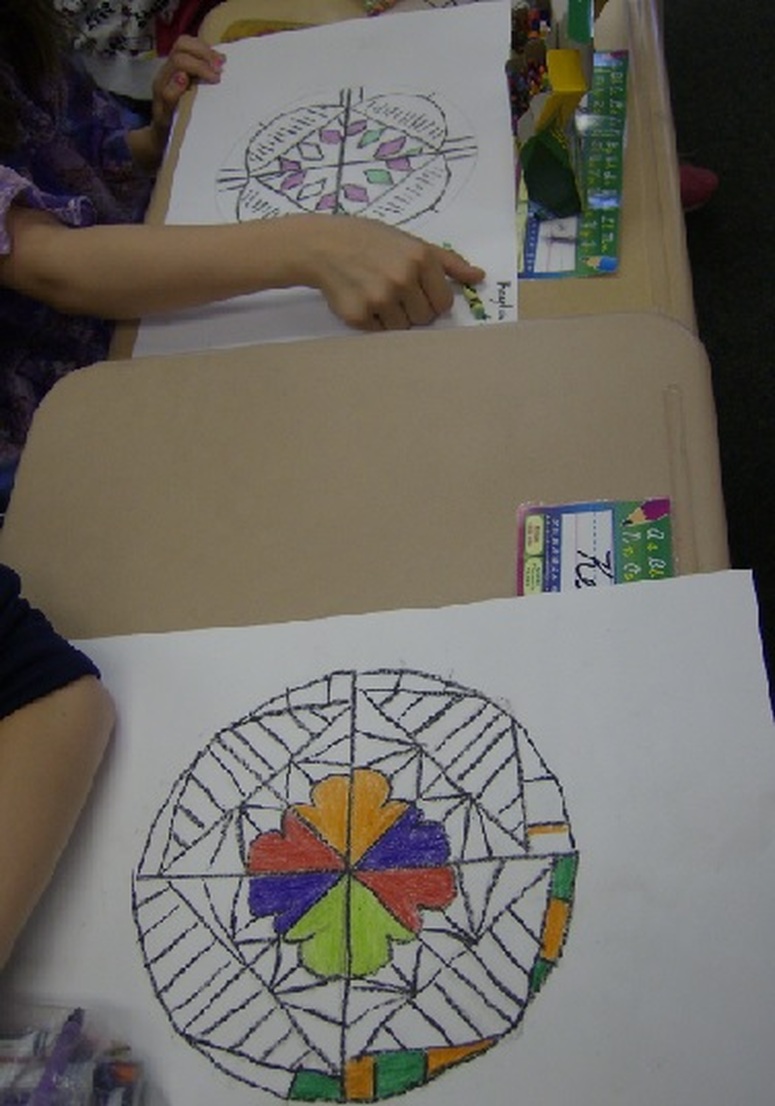
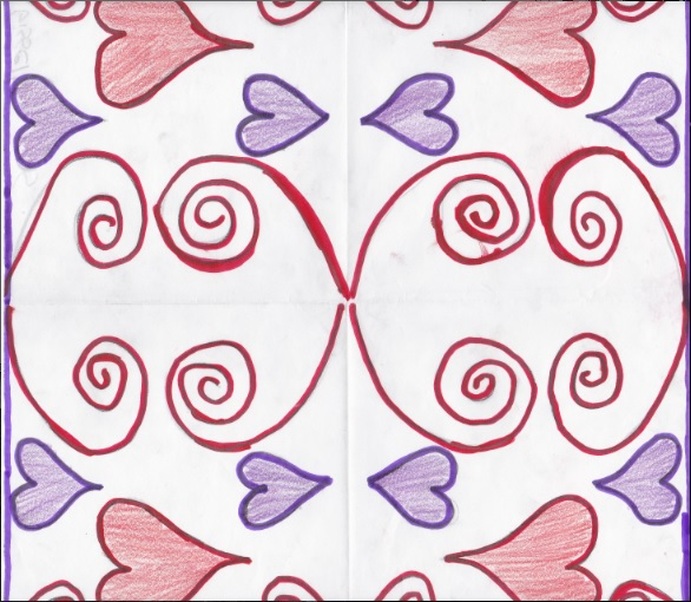
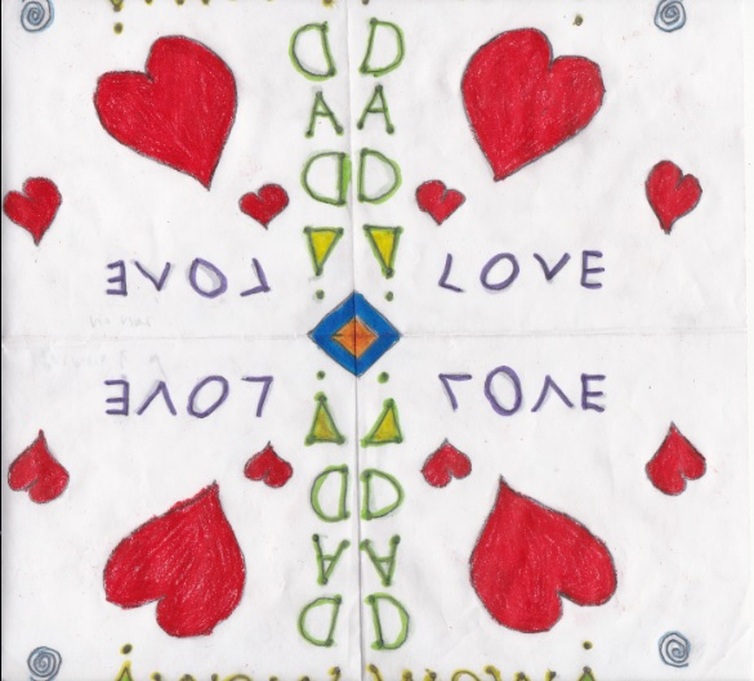
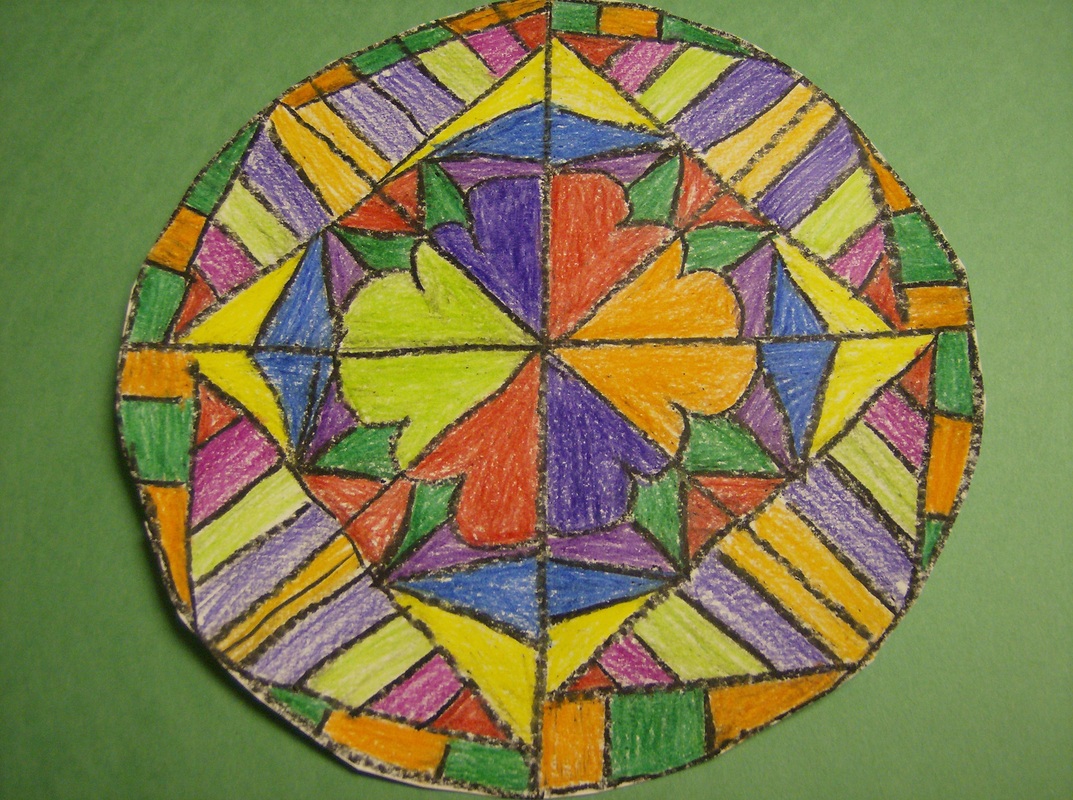
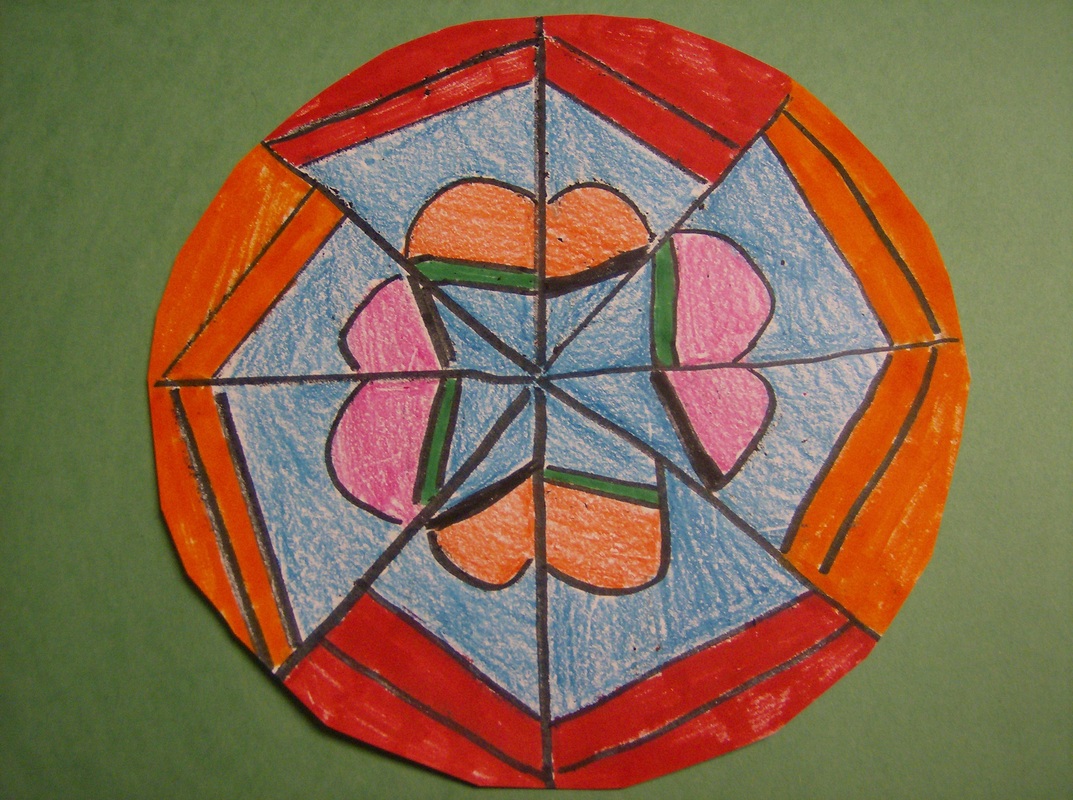
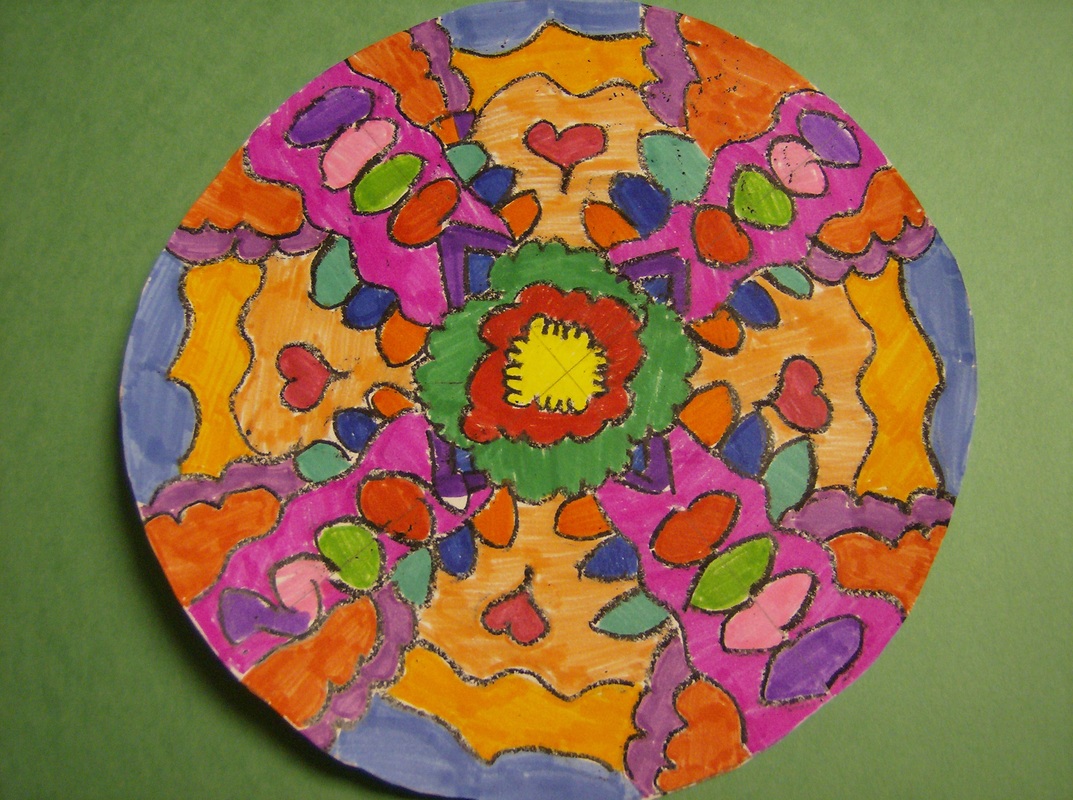
Here are some finished examples from Ms. Bickhams's room - sw school
good effort yields some beautiful designs!
notes to remember:
1. you must use a led pencil. the led from a mechanical pencil won't transfer easily.
2. keep the design simple. do not make a lot of little designs...make a few good sized ones as you see here!
3. rub in one direction to avoid tearing the paper!
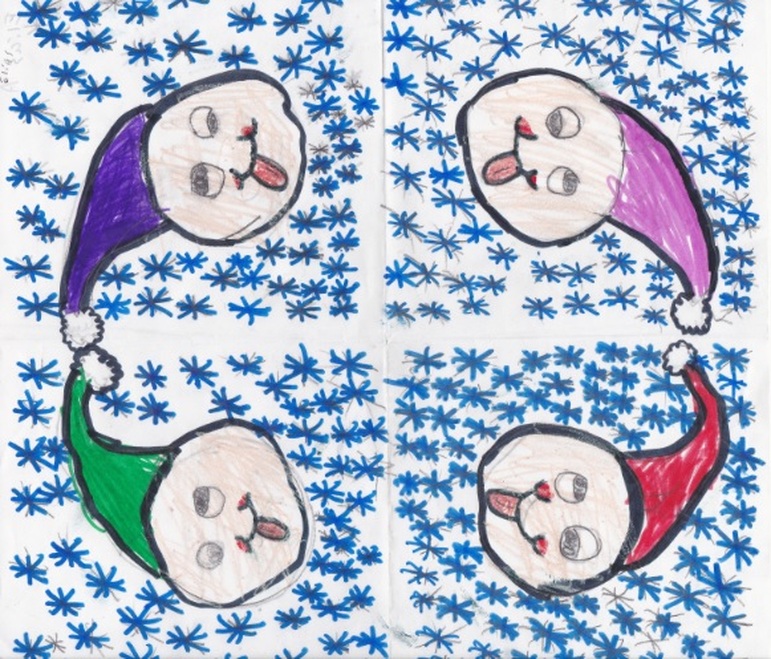
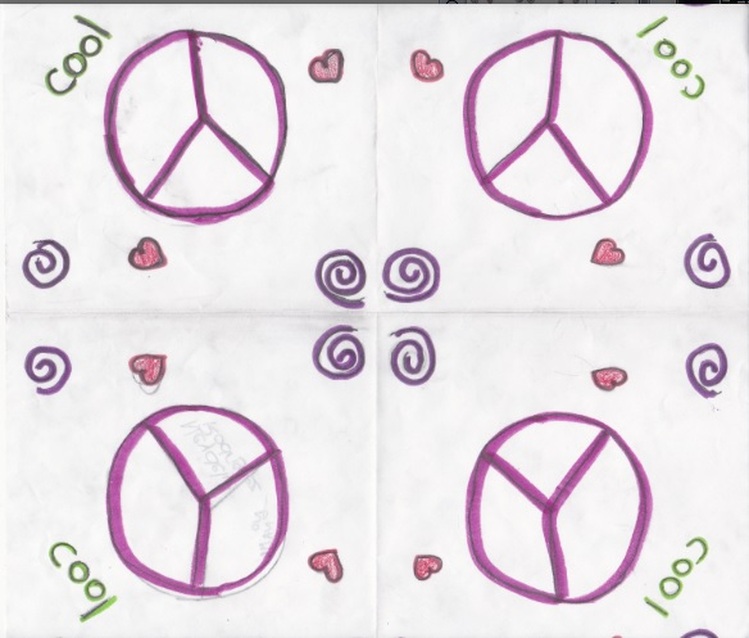
ms. Daniher's class - sw school
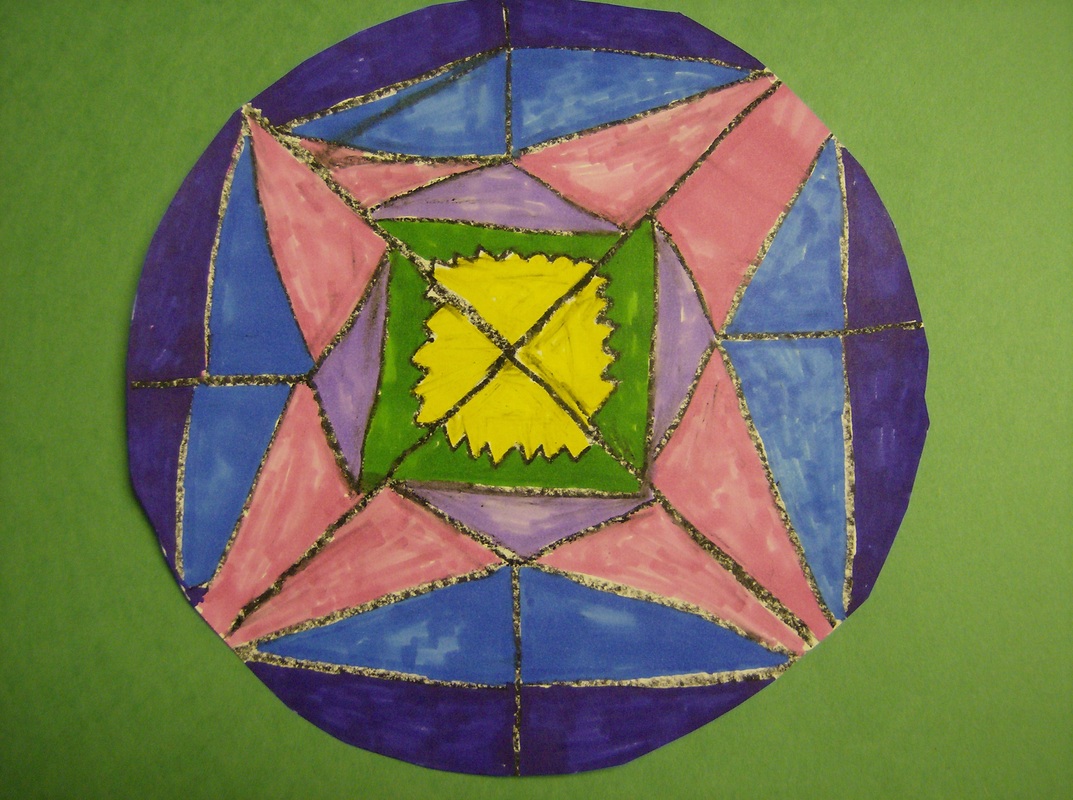
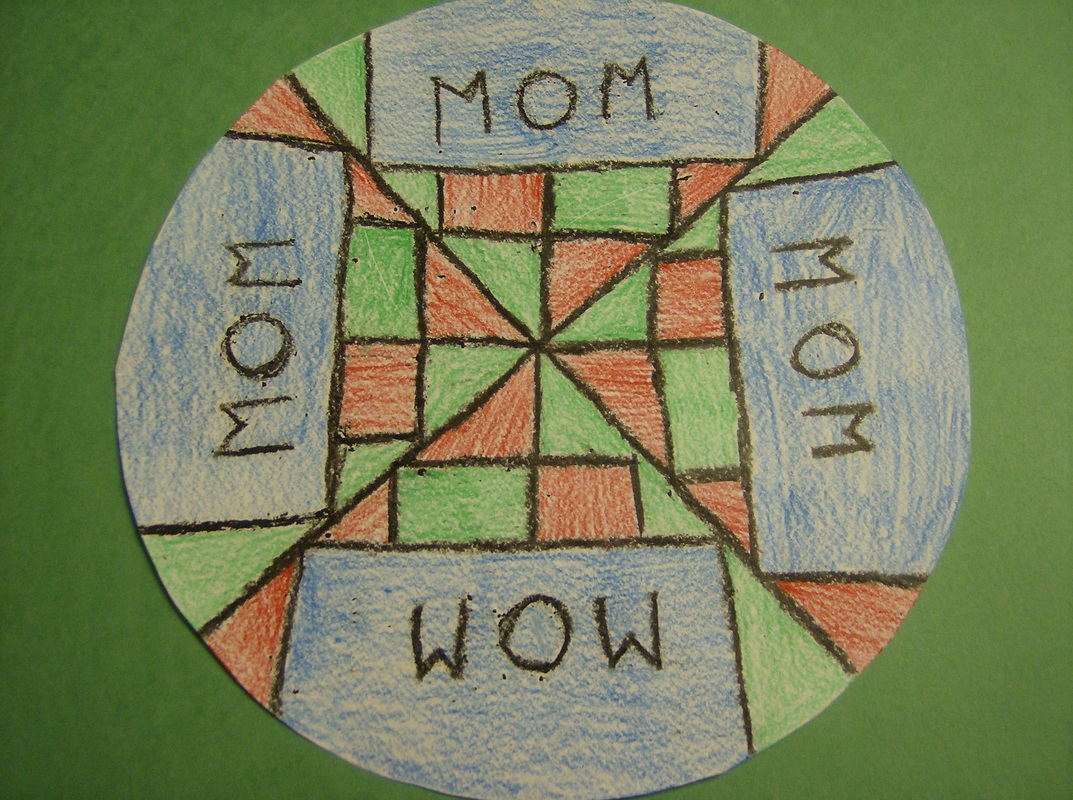
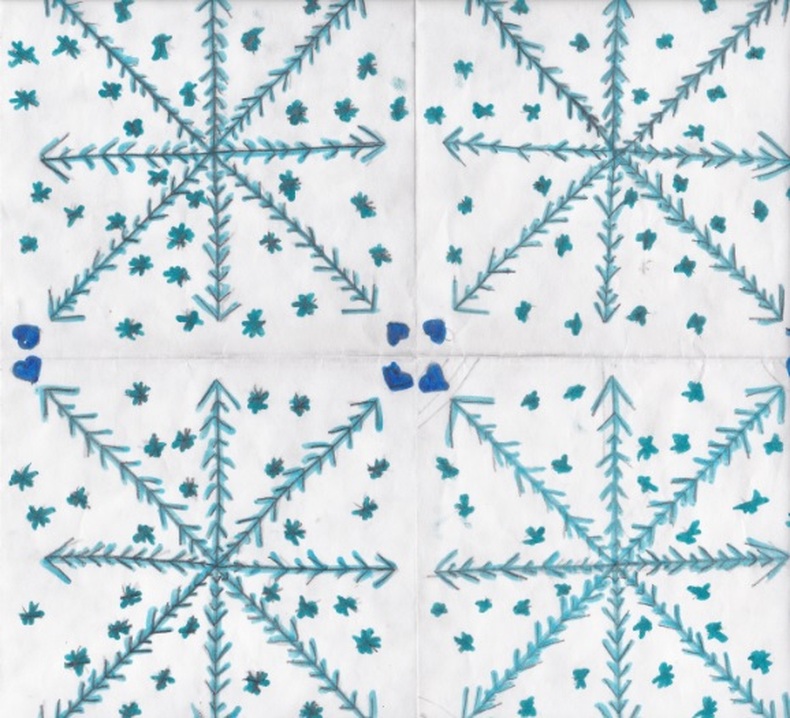
here are some nice examples done in "square form" in Ms. Nee's classroom at northeast school during march 2014